Drainage System Installation Guide
STEP
Preparation
Bring the ducts to the area where they will be laid on pallets.
Start laying and placing the channels immediately.
If needed, remove the products one by one from the pallets; otherwise, leave them on the pallets. Do not open the packaged channels.
Concrete the ground in the trenches that were opened for laying, and then position the channels beside the trenches.
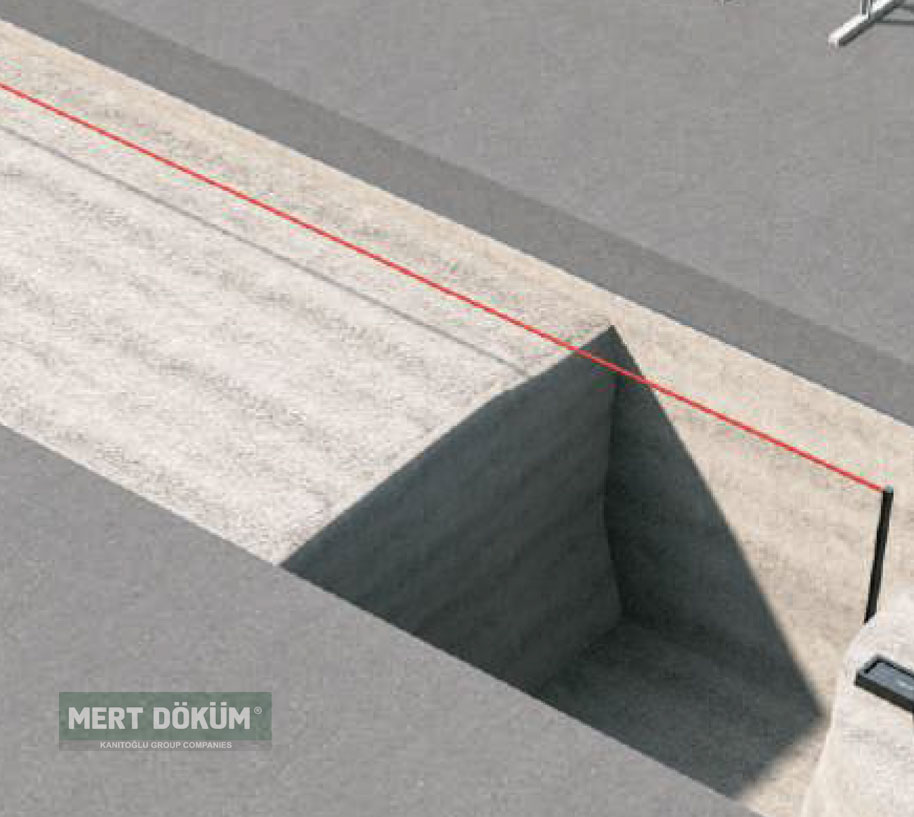
STEP (1)
Jeans Adjustment & Measurement
While laying the channels, follow the flow direction indicated by the direction signs. Examine the channel in the trench you've excavated, and ensure that the height is appropriate by tugging on the guide rope. If any height issues are identified, adjust it by adding fresh concrete to the trench floor until it is level and aligned with your product's specifications. Complete the adjustment process as needed.

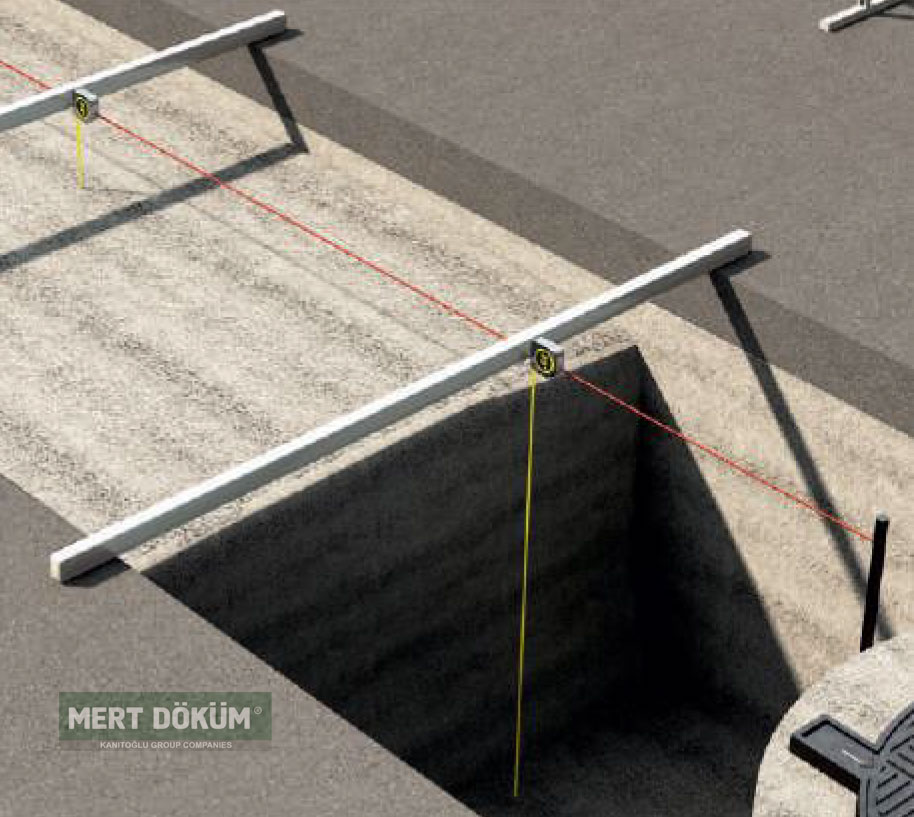
STEP (2)
Jeans Adjustment & Measurement
Insert a wooden wedge under the duct to create a slope for shock absorption, and then position a spirit level to verify the slope. Adjust the desired channel slope by tapping the wooden wedge with a hammer while referring to the spirit level, and achieve the necessary level. Commence the laying of the duct system from the manhole. Ensure to install a manhole at intervals of 25 meters. This step is crucial, so please don't overlook it.
STEP (3)
Jeans Adjustment & Measurement
Proceed with the installation of the Polymer Concrete Drainage Channels as you continue with the Duct System installation, which you initiated alongside the manhole installation. Utilize the wooden wedge, spirit level, and hammer previously employed during the installation process to establish the required slope and elevation for the channels. Additionally, ensure the edges of the channels are adequately supported using mortar appropriate for your product class.
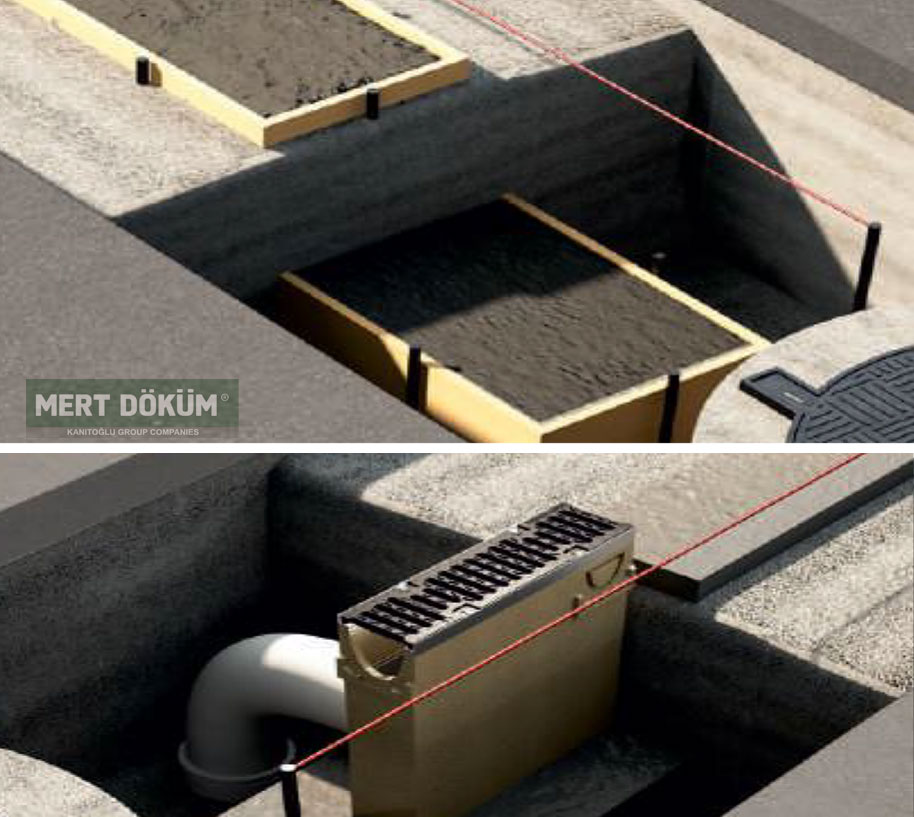
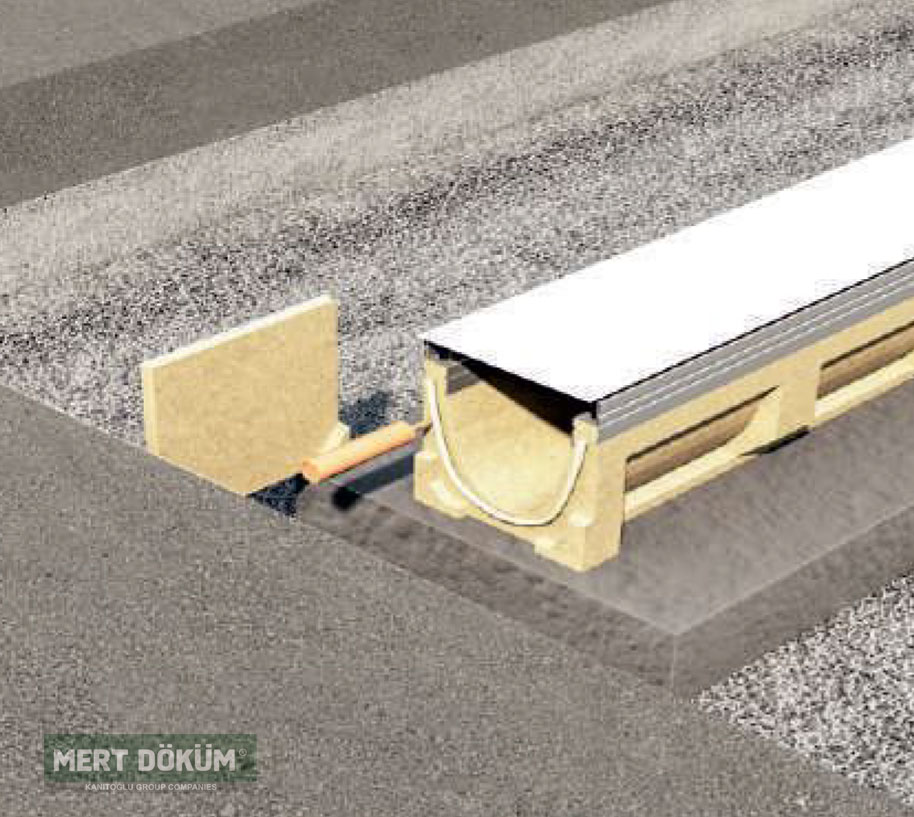
STEP (4)
Setup
While installing the Duct System, ensure to begin laying the Channels either from the Manhole Box or the Discharge Channel, paying close attention to this step. For effective sealing between channels, it is advisable to use MertGlue™ as recommended. If you have obtained the necessary permissions, make sure to connect your Channel System to the nearest stormwater drainage chimney, as this connection is essential for proper functionality.
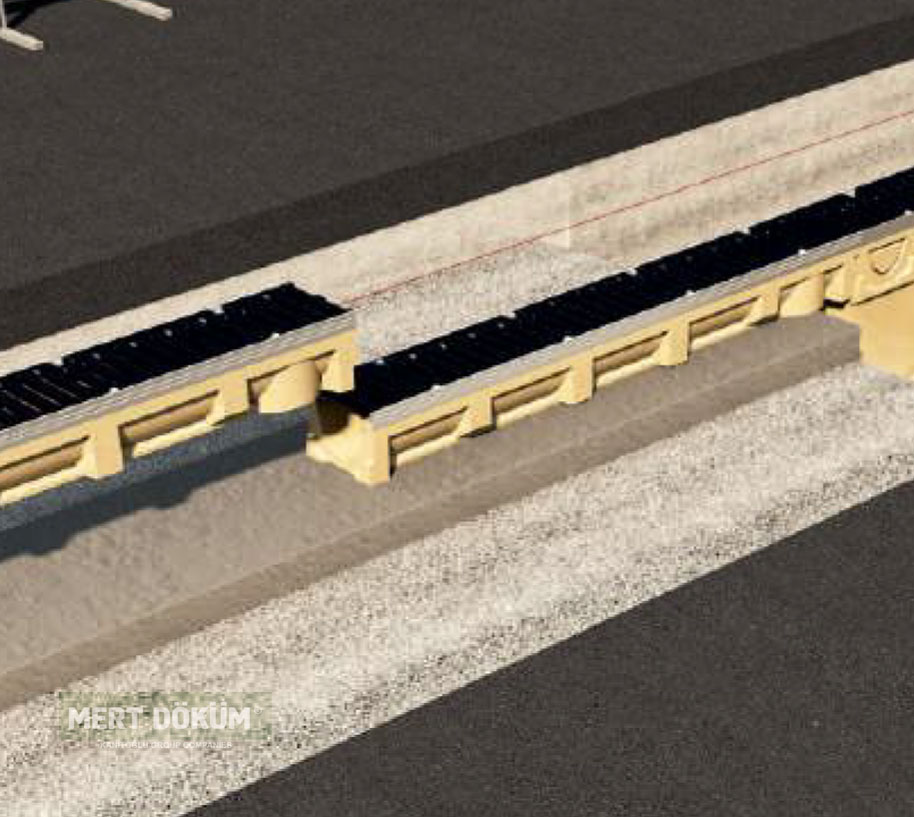
STEP (5)
Polymer Concrete Channel Arrangement
Position the desired channels while considering the direction indicated by the guide rope. Place them according to your preferred orientation. Once the placement process of the channels is complete, if any product spills onto the trench floor, allow it to be there. Wait for the specific fresh concrete appropriate for your class to dry.
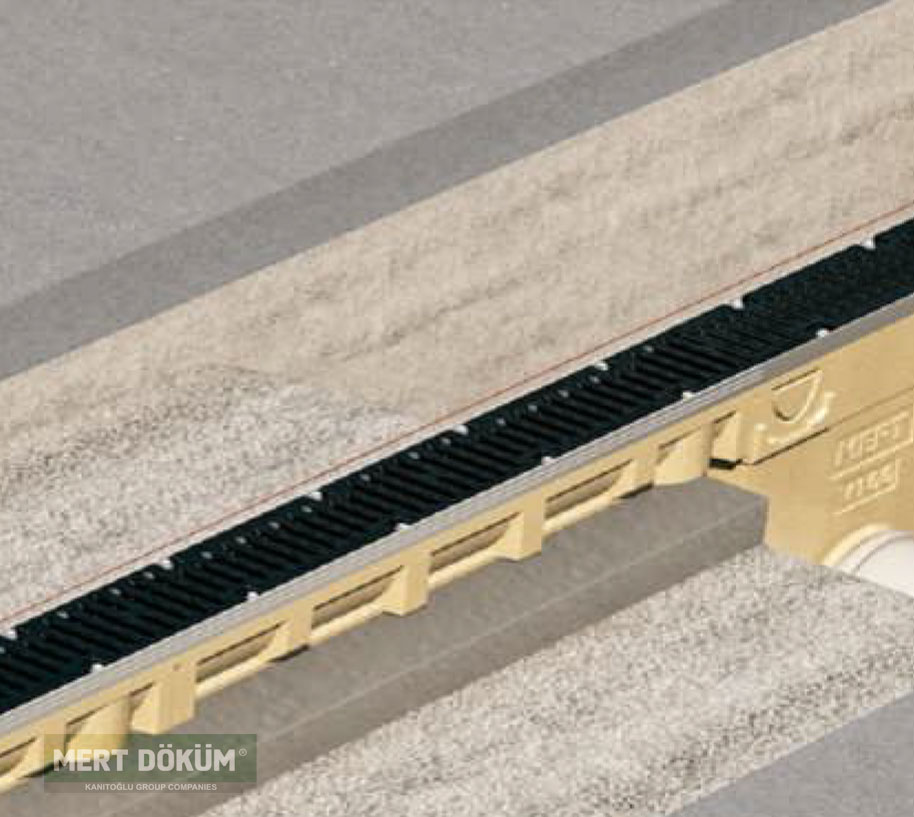
STEP (6)
Closing the channel start and concreting of edges
The laying process will conclude with the connection of the Duct System to a drainage duct. If a connection will not be made, employ the Blind Cover closure element to seal the starting point of the system. Ensure that the channels remain free from pollutants, and use protective material to shield the inner and upper parts, preventing damage. Secure with appropriate closures.

STEP (7)
Fresh Concrete Application
Using a wooden wedge and a hammer, gently press on the channel's frame to make adjustments. Utilize a gauge on the frame to ensure precise positioning, aligning the channel with the road and maintaining the same slope. Verify the alignment thoroughly.
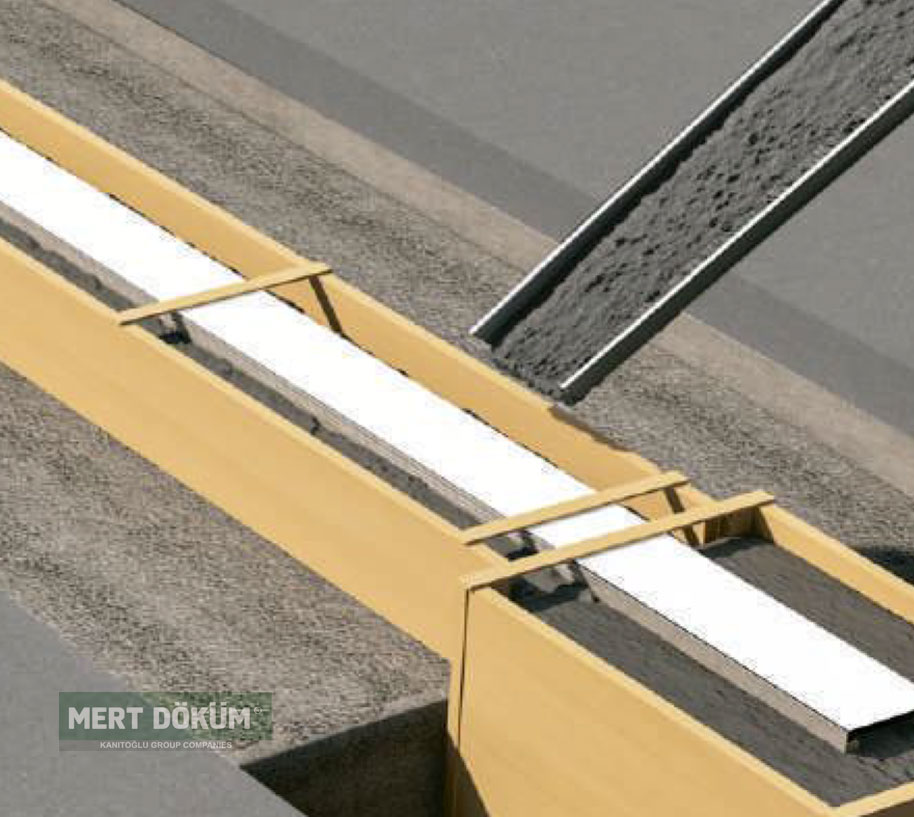
STEP (8)
Mold making for Concrete Application
Follow the Application Instructions specific to your product and use concrete with the appropriate thickness. Pour this concrete into the designated side cavities of the channel. Prepare the molds and begin filling the channel side spaces with the suitable concrete. During this stage, it is crucial to ensure that the concrete is filled up to the top level of the canal. This step holds significant importance.
STEP (9)
Dolgu (Filling)
Other than the protective formwork for the concrete on the side walls of the canal, fill any gaps with appropriate concrete. During this filling stage, if the concrete area is extensive, it's advisable to create a joint gap resembling a contrasting line. After filling the concrete, ensure proper consolidation using vibration for an effective correction method.
STEP (10)
Paving
For the asphalt application process, after concreting the bottom and side walls of the channel, proceed to pour the Drainage Sidewall Protective Concrete once the initial process is completed. Finally, fill the channel with asphalt.
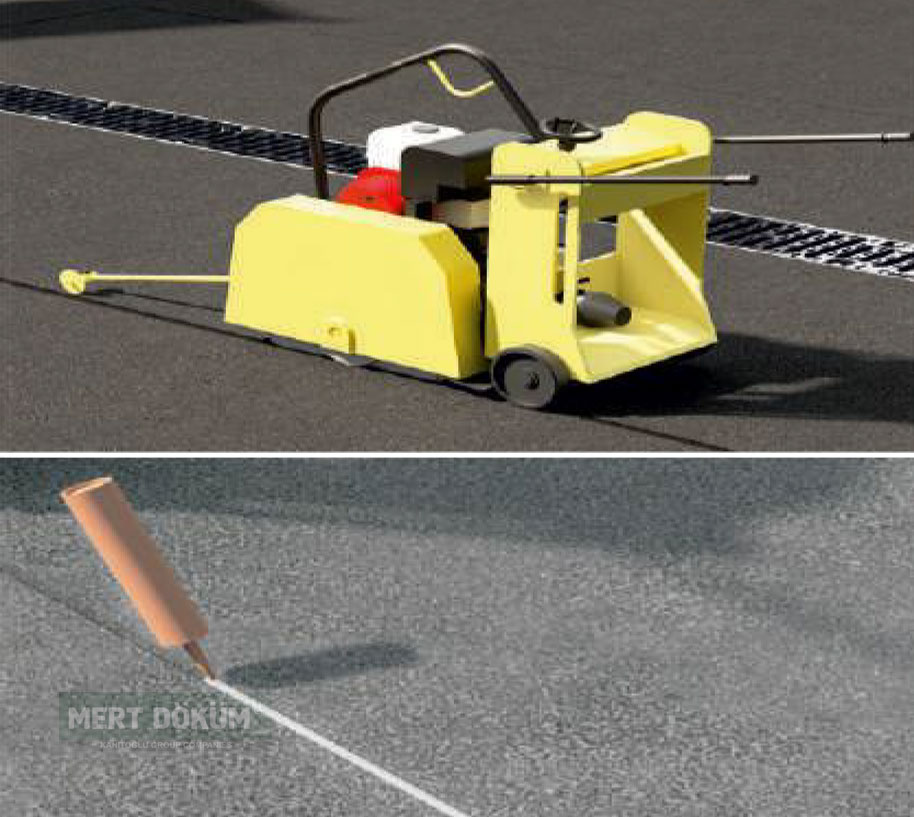
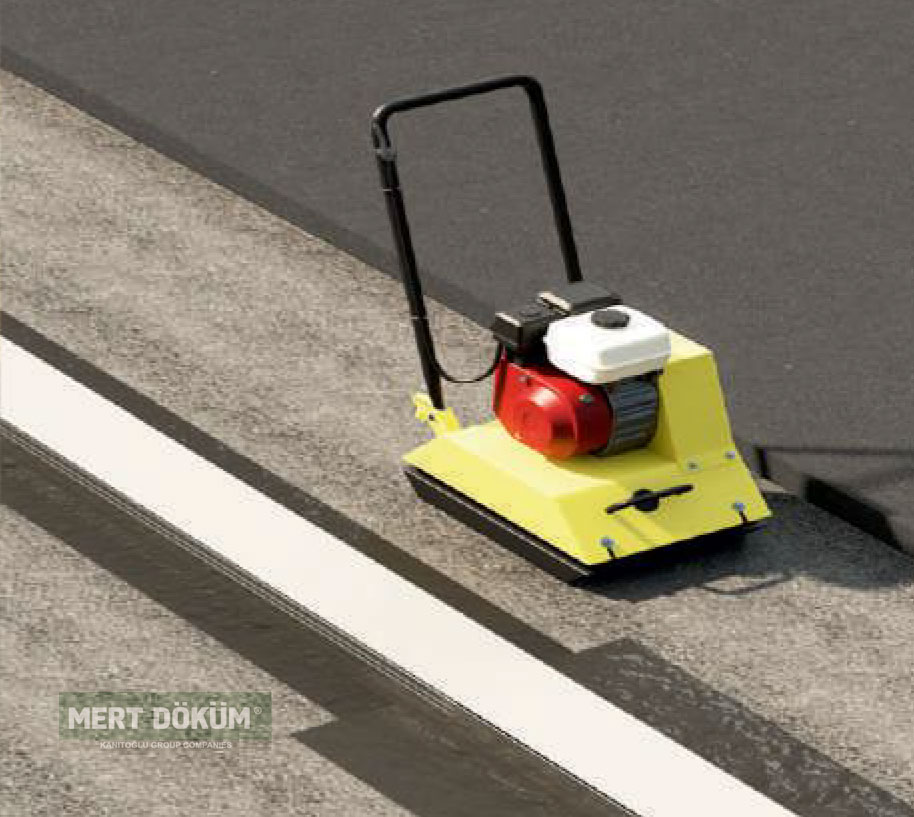
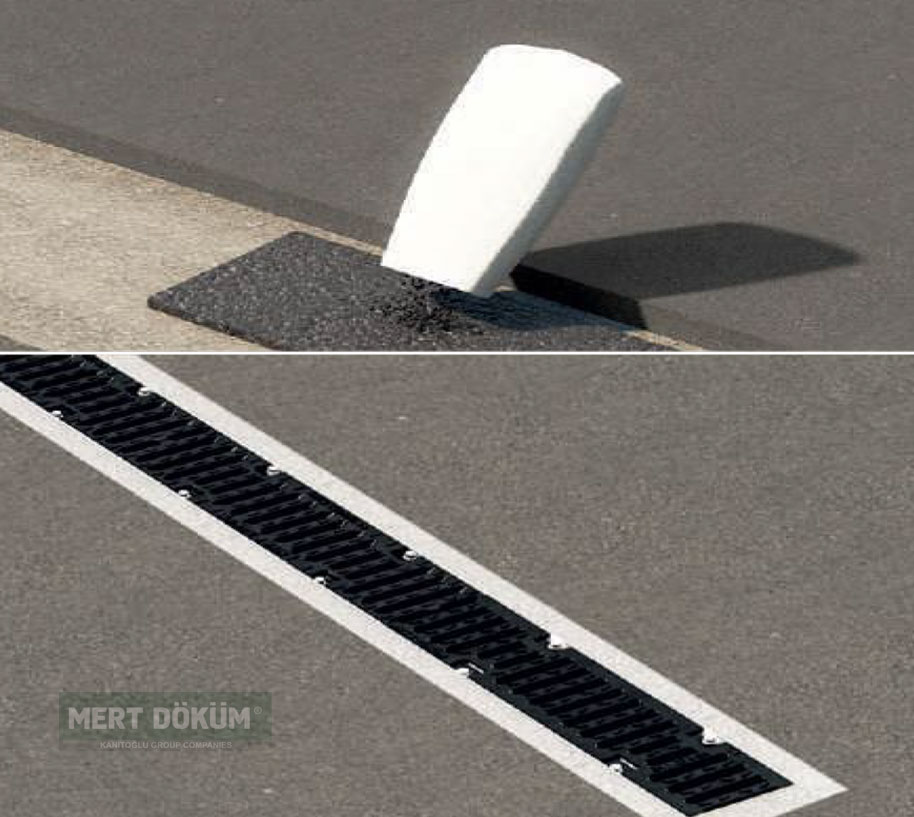
STEP (11)
Asphalt Cutting and Siliconizing
Perform the cutting operation according to the asphalt poured on the concrete, focusing on the concrete joint underneath. Utilize a suitable joint application, such as siliconization or other appropriate methods.