Access Cover Installation
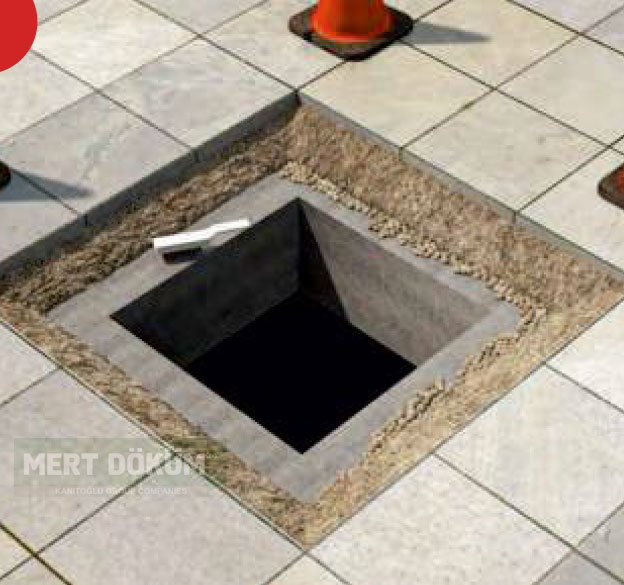
STEP (1)
Preparation
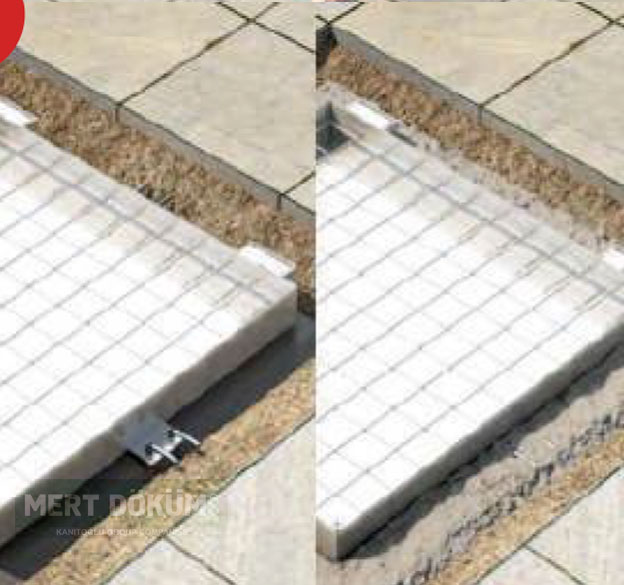
Ensure the hole where the frame will be installed is free from loose particles or dirt, including substances like oil or grease, by using a brush to remove them. Examine the condition of the cover opening and confirm that the support part where the frame will be positioned has sufficient roughness, as this guarantees improved mortar adhesion.
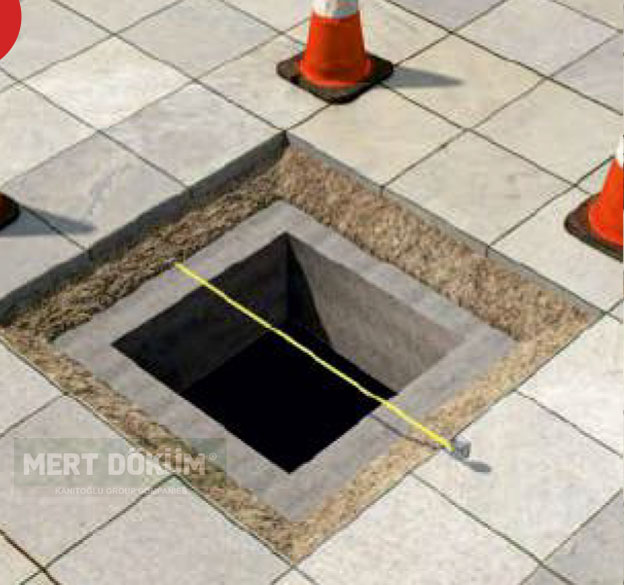
STEP (2)
Measurement
The opening or groove of the Intervention Cover, where the frame will be attached, needs to be checked for its diameter. Ensure that the diameter of the Clean Response Cover opening is at least 5 cm larger than the frame diameter. It's recommended to have more space.
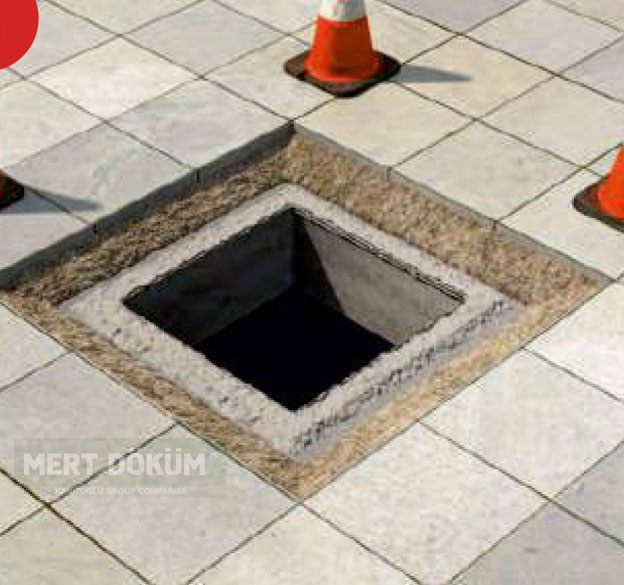
STEP (3)
Setup
Fold a layer over the top of the Access Cover's frame and apply sealant (or fresh concrete) onto it. The recommended minimum thickness for the concrete layer beneath the frame is determined by its high-strength ready-made sealing capability. If concrete is used, ensure a minimum thickness of 4 cm; for ready-mixed concrete, at least 7 cm of C35-grade concrete is recommended.
STEP (4)
Jeans Adjustment
Insert a wood-plastic wedge and a hammer under the frame by applying gentle pressure. Use a gauge on the frame to ensure it is aligned flush with the road and maintains the same slope. While adjusting the frame's height, avoid using any brackets or threaded spindles (whether metal or wooden), as this can lead to leaks.
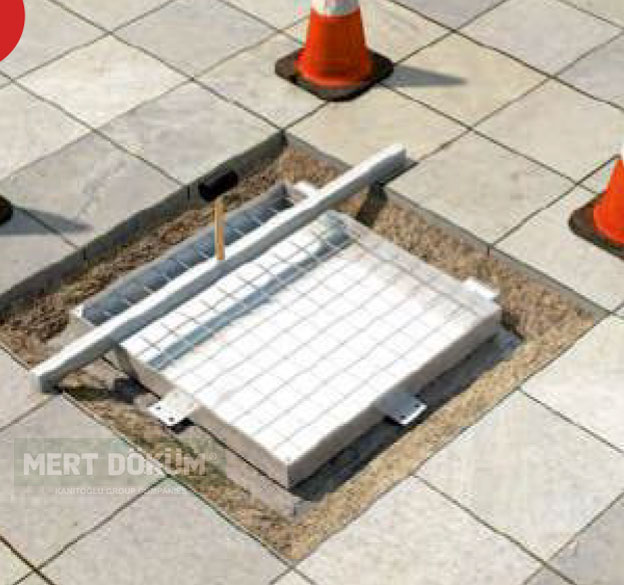
STEP (5)
Fixing
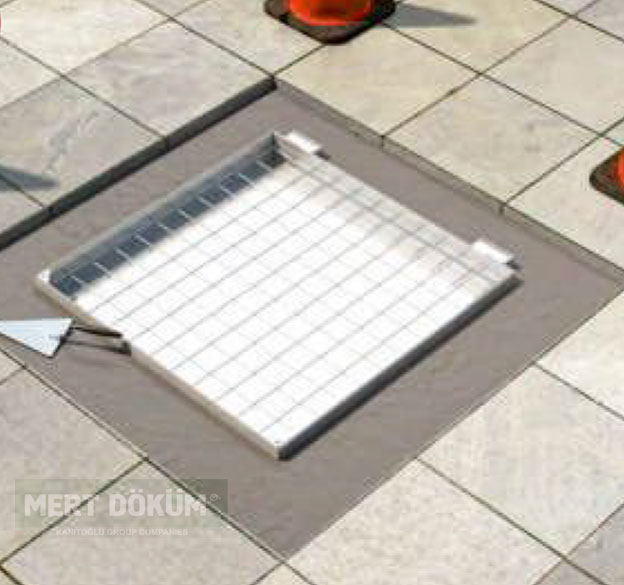
Secure the frame in place by fastening it with anchors from the skirts after adjusting its level. Fill the side cavities of the frame with fresh concrete. Utilize vibration on the fresh concrete to ensure a smooth and sturdy finish. By vibrating and filling the gaps on the sides, you can enhance the frame's adherence to the ground.
STEP (6)
Surface
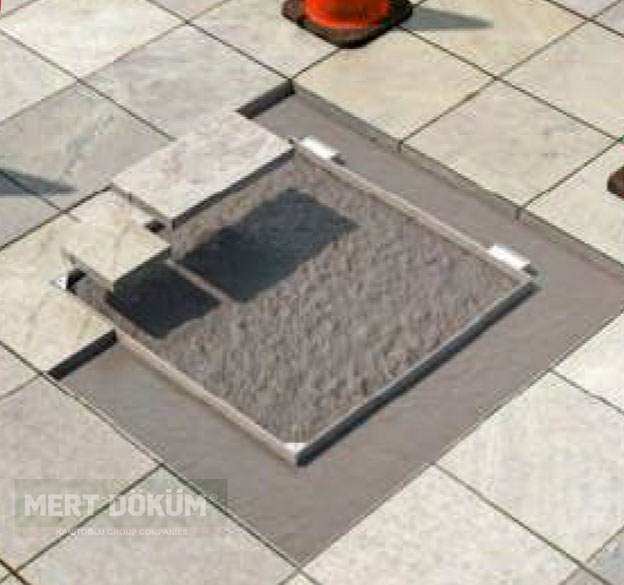
Leave a height allowance for the stone thickness when laying Stone Veneer on concrete. Utilize a trowel to level the fresh concrete. Once the concrete has hardened, you can proceed with the coating process.
STEP (7)
Covering
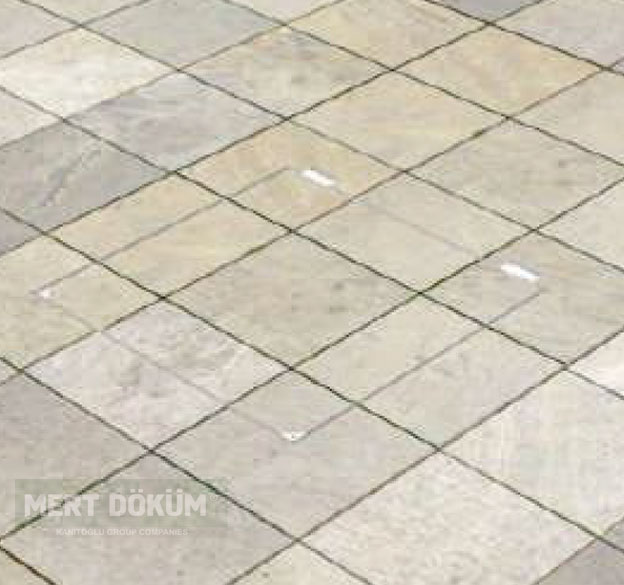
To place Stone Veneer on the cover of your product, apply fresh concrete or adhesive material to the cover part. Use a trowel to even out the fresh concrete. When positioning sections of the Stone Veneer, verify the height of your product. Ensure that your product is aligned correctly, so there's no variation in elevation compared to its surroundings.
STEP (8)
Last Check
For products utilizing Bolts as the Lock Mechanism, check that the Bolt slots are clear and the Bolts are appropriate. Ensure they are securely tightened. Before use, always verify that the frame's underside and particularly the gasket touch the concrete surface. The proper installation approach ensures the gasket doesn't contact the concrete.
Conduct a post-installation check on your product. Pay attention to the following areas: Cover Top Spaces, Hinges, EPDM Gasket, and Moving Mechanism Zones. After completing your setup, ensure these points are fitting and clean.